Plants4Kids: By Anna N. Stepanova, North Carolina State University
Young children are curious by nature and their inquisitive minds are like sponges that take in everything that is happening around them. As a parent, a scientist, and an educator, I feel that my role is to teach children the basic rules of life in a fun and accessible way, while nurturing kids’ natural curiosity and stimulating their critical thinking skills. I am an Assistant Professor of Plant Biology and Genetics at North Carolina State University. I teach advanced Molecular Genetics to graduate students and run a research lab staffed with students, postdocs and PhD-level research scholars. Yet, for my outreach efforts, I prefer to work with elementary school children. Why? Because at that age kids are already old enough to (semi) independently set up, run and interpret basic experiments with minimal guidance from adults, but are still young enough that they have not yet lost their naive curiosity. They are open to trying new things without labeling something a priory as boring or pointless as many of the older children and adults tend to do. In fact, I believe that there is no minimal age limit for introducing kids to science, as boys and girls as young as toddlers can already benefit from taking part in simple experiments run by their parents or older siblings.
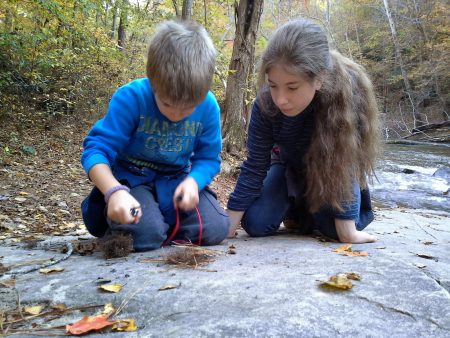
When my daughter and son were little, my husband Jose Alonso and I were looking for some fun activities to do with them over a spring break. With the gardening season approaching, we thought that if would be great to plant some seeds into pots and have kids watch the plants emerge from soil and grow. Our then 9-year old daughter Clara and her 5-year-old brother Antonio were excited to go dig up some dirt, put it into empty yogurt cups, and plant some seeds (we had corn, peas, cucumber and tomato seeds at that time). In this simple quest, they faced many dilemmas. What soil to get (would clay, mulch or sand work better)? What size cups to fill and how much soil to add? How many seeds to put in each pot? One kind of seeds per cup or all three types in a single cup? Is it better to plant them deep or leave the seeds on the surface? How much water to add? Warm or cold? Where to put the cups after planting – a light windowsill or a dark place under the kitchen counter? The kids decided that they wanted to try as many conditions as possible, but we simply did not have enough seeds in small packets purchased from a garden supply store to do it all. Then I remembered that we had large bags of dry green peas and various beans in the pantry (that I bought for cooking) and we decided to try those as well. And those food-grade seeds worked as good or better than the seeds commercially sold for gardeners! For the kids and parents alike, it was a lot of fun (and mess) to set up various experiments, and we all learned some things along the way. Well, at least the kids did (my job was mostly to clean up the dirt and water they spilled while planting). Personally, I grew up gardening with my parents and my husband came from a family of many generations of farmers, plus we both have been growing plants at work for many years for our research. So, for us planting and watching seeds germinate was a routine, but for our kids this was a big deal, all new and super-exciting!
Inspired by the success of this initial trial, Jose and I decided to turn this into a formal outreach program for children, which was made possible by the generous support of the National Science Foundation that funds research projects in the Alonso-Stepanova lab. A friend of our family, Natalia Kipfer, who at a time was an English as a Second Language teacher at a local elementary school in Raleigh, NC, concurred with us that a formal set of plant biology activities targeting young children would be a great idea, especially if we could make the program bilingual. My husband is a native Spanish speaker and we had several Spanish speaking postdocs working in our lab, so once I developed the experimental modules, Javier Brumos (a native of Spain) in our lab translated them into Spanish. Jose then created a dedicated website for our outreach activities and uploaded my English and Javier’s Spanish versions of the modules into the Alonso-Stepanova lab webpage under the name Plants4Kids.org.
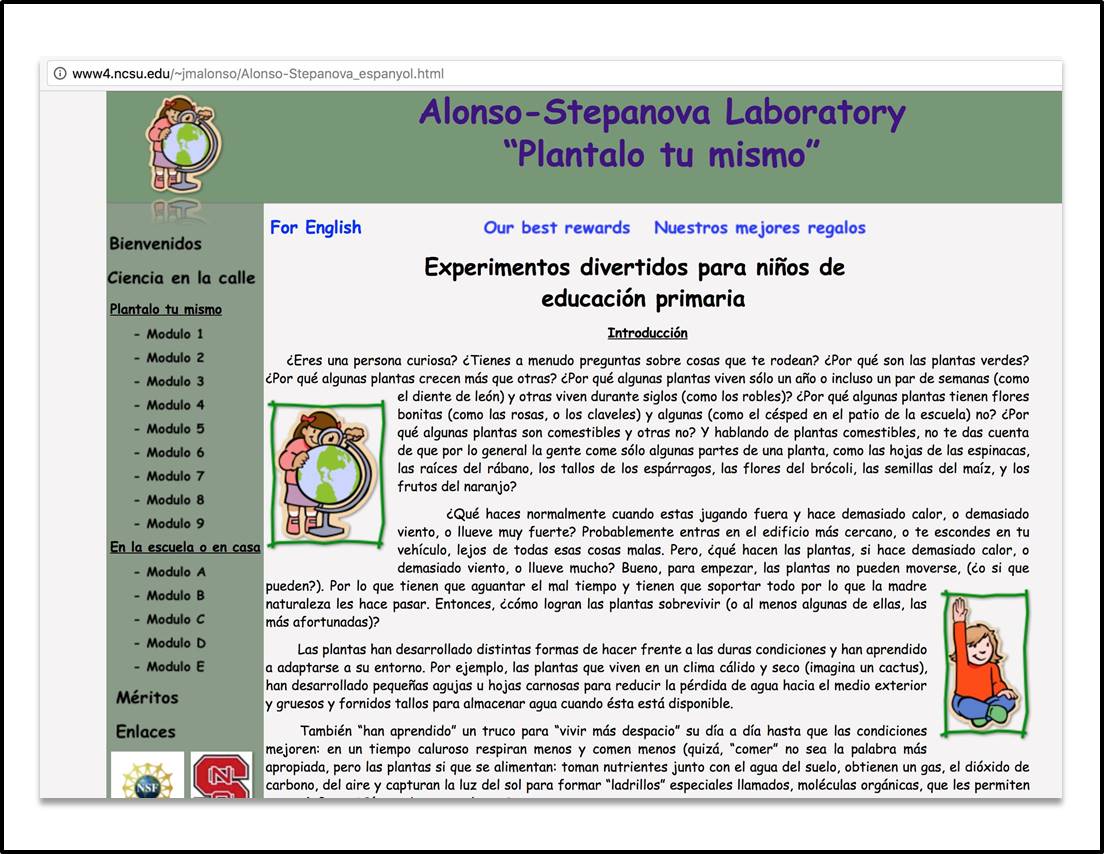
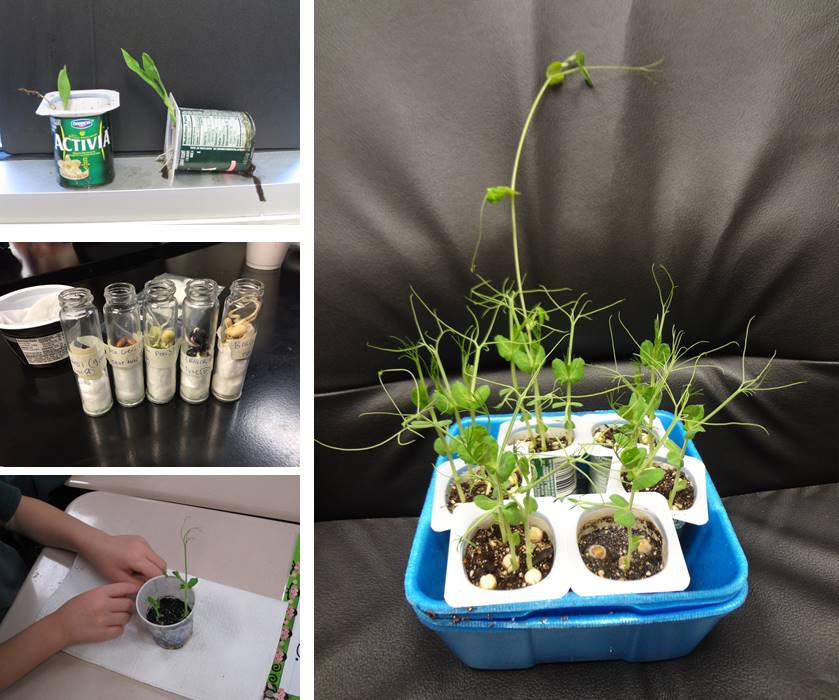
The ideas behind our experiments were very simple. First, we asked kids to look around and collect basic materials at home, yard or school: empty milk or egg cartons or yogurt cups for “pots”; dirt or mulch from a playground or shredded junk mail for “soil”; seeds from mom’s pantry, from a carved pumpkin or a recently eaten cantaloupe for our “planting materials”, etc. For “plant-it-yourself” modules, we instructed the kids on how to fill the cups, plant the seeds, and subject germinating seedlings to different conditions: light versus dark, cold versus warm, one seed at a time versus multiple, pots placed vertically versus on their side, plants with and without water, watered with water versus with other liquids (coffee, tea, milk, orange juice, etc.). For our “School-Yard or At-Home” modules, we had kids run basic experiments with detached branches or flowers collected outdoors and rely on household chemicals (to imitate pollution) and ripe bananas (as a source of the aging hormone ethylene) to treat their plants. We encouraged the kids to make predictions (i.e., to formulate a hypothesis) as to what the outcome of their experiments might be, and after performing the tests, if their predictions proved wrong, to think outside the box and come up with possible explanations as to why that could have been the case.
 Once we had the website up and running, we sought out opportunities to share our Plants4Kids program with local elementary schools. The first demo we carried out was at my kids’ school in Raleigh, Swift Creek Elementary, on a science fair day, where we had nearly 400 children visit our hands-on demo booth (the only one at the fair!). This was both exciting and overwhelming for the four of us doing the demo, as we ran out of cups and soil midway through the event (for future demos, we always came better prepared with extras of everything!). We also got in contact with a local science museum in Raleigh, the North Carolina Museum of Natural Sciences, and reserved a spot with them on Science Saturdays, a monthly event for museum visitors that runs every first Saturday of the month.
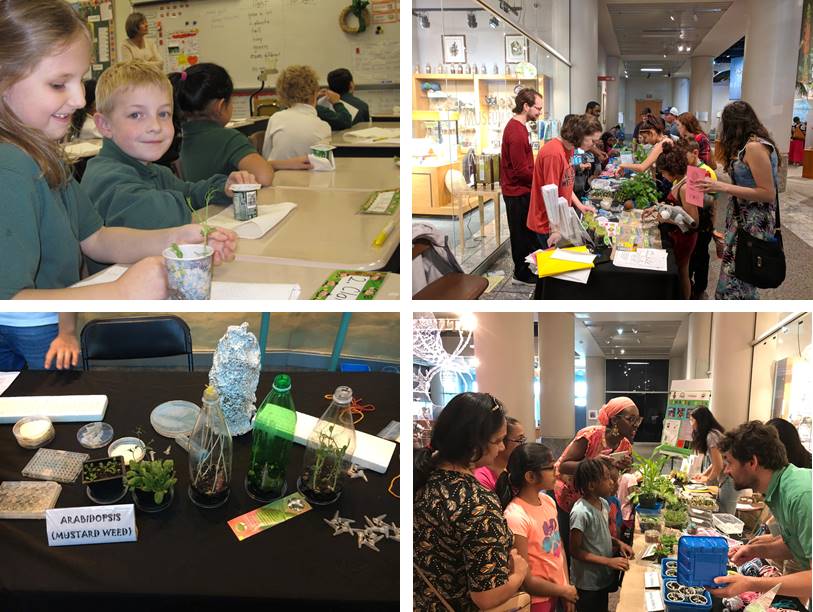
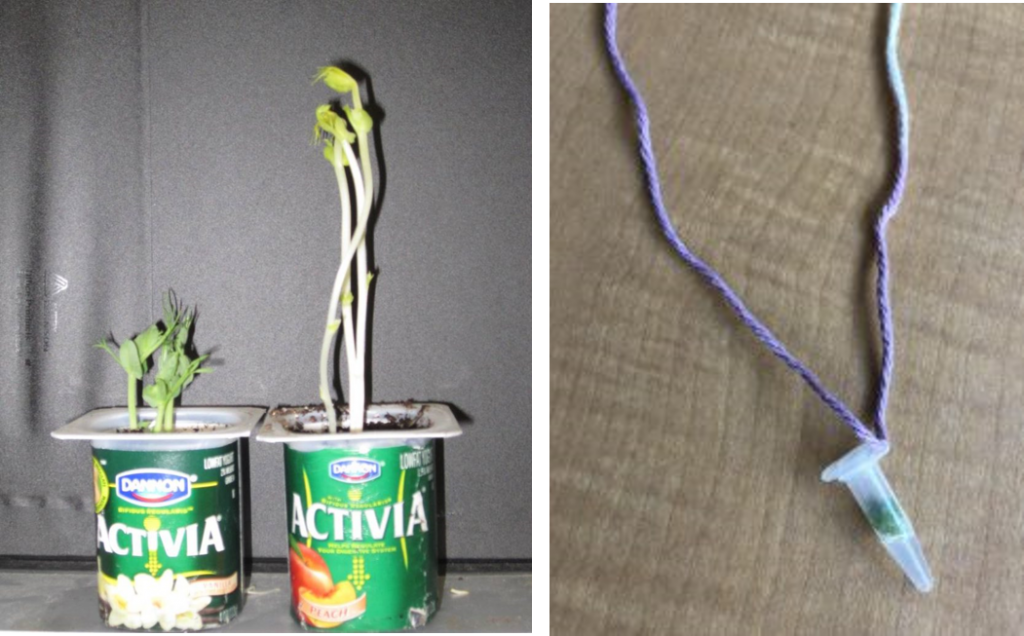 Since 2010, our lab members have jointly done over a hundred live hands-on demonstrations at the science museum and local schools in Raleigh, reaching several thousand kids. Typically, the Alonso-Stepanova lab personnel (PIs, postdocs, graduate and undergraduate students) lead the demo, but on busy days at special museum events, we also rely on the help of our colleagues from other research groups and involve high school students and other community volunteers. Most of our interactive demonstrations last 2 hours (but we get to work with multiple kids and families during that period, devoting 5-20 minutes to each group of visitors). Twice a year, for Darwin Day and the Triangle Science Expo at the museum, we run a whole-day booth. For every demo, we bring pre-set experiments (e.g., plants grown in the dark versus in the light, as in our Module 1), seeds, soil, cups, and have kids set up their own experiments under our guidance and take planted seeds home with them. As our visual aids, we bring with us byproducts of our own research (e.g., Petri dishes with Arabidopsis and E. coli, vials with GUS-stained seedlings, pots with Arabidopsis mutants, etc.), as well as pre-plant and give out necklaces with tiny live plants. These are usually young Arabidopsis seedlings grown in sterile media in microfuge tubes that we hang on a piece of colorful yarn. We call them “mini-green houses” and kids absolutely love them!
Where do we go from here? As we are continuing with our regular live Plants4Kids demos to make the community aware of Plants4Kids, we are also working on improving and expanding the web-based portion of the program to include more pictures and bilingual instructional videos. As some of our youngest “customers” do not yet know how to read proficiently, we hope that including pictures in our website and posting videos in YouTube would make basic plant science accessible to all audiences. In fact, as part of our latest NSF-funded outreach efforts, for the past 3 years we have been making educational YouTube videos on a variety of topics, not only in biology (such as What are plant hormones?, What GMOs are, or Ribosome footprinting) but also in other areas of science (such as Is time travel possible, Why do you get dizzy when you spin around in circles, or How an atomic bomb works). Some of these videos were made by graduate students taking the Molecular Genetics course I teach at NC State University and some were done by my own kids, Clara and Antonio, as a fun summer activity. By the way, the GMO video that was made by my then 10-year-old son was highlighted by the local NC State University press (https://cals.ncsu.edu/news/the-next-science-guy/) and the Plant Hormones video that my then 15-year-old daughter illustrated has collected over 20 thousand views in under 2 years (no, it has not gone viral like popular sports or pet videos do, but it is rewarding to think that thousands of people now know a little bit more about how cool plants are).


